Mold on Tile and Grout: Cleaning and Prevention Guide
Dealing with mold on tile grout is a common challenge for homeowners. Tile and Grout is found throughout homes, and when moisture gets involved, mold can take hold quickly. This guide covers everything you need to know about identifying, removing, and preventing mold on tile and grout, including when you can handle it yourself and when to call a professional. According to EPA Mold Cleanup Guide, controlling moisture is the key to preventing mold growth on all building materials.
Our reviews are based on aggregated verified buyer feedback, manufacturer specifications, ingredient analysis, and published expert opinion. Products are not independently purchased or tested by our team. We may earn a commission if you purchase through our links, at no extra cost to you. How We Review
Why Does Mold Grow on Tile and Grout?
Tile itself is non-porous and resistant to mold, but grout is highly porous cement that absorbs water and organic residue (soap scum, body oils). Caulk around tubs and showers also harbors mold. Bathroom tile is constantly exposed to moisture and warmth.
How to Identify Mold on Tile and Grout
Black or dark pink/orange discoloration in grout lines, especially in shower areas. Dark spots in caulk around tubs. Mold grows in grout between tiles, at corners where walls meet, and around fixtures.
Removal difficulty: Low to Moderate
Can You Save Moldy Tile and Grout?
Yes, almost always. Tile and grout mold is surface-level in most cases. Severely deteriorated grout may need regrouting.
How to Remove Mold from Tile and Grout: Step-by-Step
Follow these steps carefully to remove mold from tile and grout safely and effectively. Always prioritize safety by wearing appropriate protective gear.
Step 1: Spray affected grout with undiluted white vinegar or hydrogen peroxide
Step 2: Let sit for 10-15 minutes
Step 3: Scrub with a stiff grout brush or old toothbrush
Step 4: For stubborn stains, make a paste of baking soda and hydrogen peroxide
Step 5: Rinse thoroughly and dry completely
Step 6: Apply grout sealer to prevent future moisture absorption
Step 7: Replace any cracked or deteriorated caulk with mold-resistant caulk
Recommended Products for Tile and Grout Mold Removal
These products are recommended for treating mold on tile and grout based on verified buyer reviews and manufacturer specifications:
How to Prevent Mold on Tile and Grout
Seal grout annually with penetrating grout sealer. Use a squeegee after every shower. Run the bathroom exhaust fan for 20+ minutes after showering. Re-caulk tub/shower joints annually with mold-resistant caulk.
DIY vs. Professional Remediation
Almost always DIY. Professional help only needed if mold has penetrated behind tiles (indicated by loose tiles or water-damaged backer board).
Tools and Materials You’ll Need
Successful mold removal from tile and grout requires specific tools and materials to ensure both safety and effectiveness. Having the right equipment before starting prevents delays and ensures proper remediation. The following table outlines essential items needed for tile and grout mold removal projects.
| Tool/Material | Purpose | Where to Buy |
|---|---|---|
| N95 Respirator | Protects lungs from mold spores during cleaning | Amazon |
| HEPA Vacuum | Captures microscopic spores and debris | Amazon |
| Mold Remover Spray | Primary cleaning agent for surface mold | Amazon |
| Moisture Meter | Detects hidden moisture in walls and surfaces | Amazon |
| Grout Brush | Scrubs mold from porous grout lines | Hardware store or online |
| Grout Sealer | Prevents future moisture absorption | Hardware store or online |
| Mold-Resistant Caulk | Replaces deteriorated caulking | Hardware store or online |
Professional restoration contractors emphasize that proper protective equipment is non-negotiable when dealing with mold on any surface. The N95 respirator prevents inhalation of airborne spores, while the HEPA vacuum ensures complete cleanup without redistributing contaminants throughout the home.
Detailed Step-by-Step Removal Process for Tile and Grout
Proper mold removal from tile and grout requires systematic execution of each step to prevent cross-contamination and ensure complete elimination. This detailed process expands on basic removal steps with specific timing, measurements, and safety protocols that professional remediators follow.
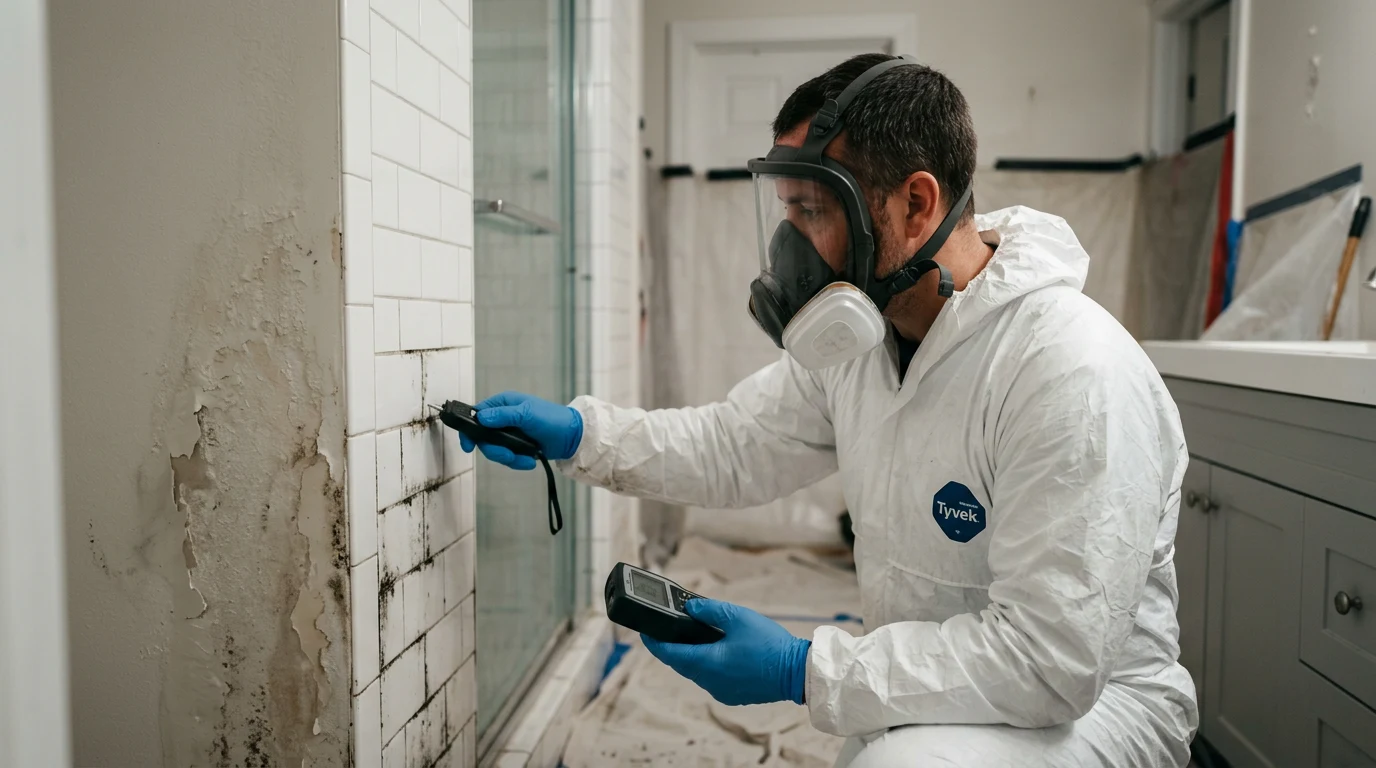
Safety Preparation: Before beginning any work, don protective equipment including N95 respirator, rubber gloves, and eye protection. Warning: Never mix different cleaning products as this can create toxic gases. Ensure adequate ventilation by opening windows and running exhaust fans throughout the process.
Step 1 – Initial Assessment and Preparation: Use a moisture meter to check surrounding areas for hidden moisture above 15%. Remove any loose debris and vacuum the area with a HEPA-filtered vacuum. This step should take 10-15 minutes for a standard shower area and establishes baseline conditions.
Step 2 – Apply Treatment Solution: Spray affected grout lines thoroughly with undiluted white vinegar or hydrogen peroxide using a trigger sprayer. Apply solution from 6 inches away to ensure even coverage without oversaturation. The grout should appear visibly wet but not dripping. Expect to use approximately 8-12 ounces of solution per 50 square feet of tiled area.
Step 3 – Dwell Time: Allow the treatment solution to remain on surfaces for exactly 10-15 minutes. This contact time is critical for breaking down mold biofilms and ensuring complete penetration into porous grout. Do not allow the solution to dry completely during this period.
Step 4 – Mechanical Agitation: Using a stiff-bristled grout brush or old toothbrush, scrub each grout line systematically. Apply firm pressure and use back-and-forth motions followed by vertical scrubbing. Each linear foot of grout requires approximately 30-60 seconds of scrubbing. Focus extra attention on corners and areas where walls meet.
Step 5 – Stubborn Stain Treatment: For persistent discoloration, create a paste using 3 parts baking soda to 1 part hydrogen peroxide. Apply this paste to affected areas and allow 5-10 minutes dwell time before scrubbing. This alkaline treatment neutralizes acidic mold waste products that cause staining.
Step 6 – Thorough Rinsing: Rinse all surfaces with clean water, ensuring complete removal of cleaning residues. Use a clean cloth or paper towels to wipe surfaces dry immediately after rinsing. Any remaining moisture can promote rapid mold regrowth within 24-48 hours.
Step 7 – Final Protection: Once surfaces are completely dry (allow 2-4 hours), apply penetrating grout sealer according to manufacturer instructions. This typically requires two thin coats with 30-60 minutes between applications. Quality sealers like professional-grade products provide 12-24 months of protection when properly applied.
Caulk Replacement: Remove any deteriorated caulk using a caulk removal tool, clean the joint thoroughly, and apply mold-resistant caulk. Maintain consistent bead thickness and smooth with a caulk tool for professional appearance and optimal moisture seal.
What to Expect: Before, During, and After Removal
Understanding the mold removal timeline and expected outcomes helps homeowners prepare properly and recognize successful remediation. Each phase of the process presents specific characteristics that indicate progress and completion.
Before Removal: Mold on tile and grout typically appears as black, green, or pink discoloration concentrated in grout lines and caulked joints. A musty odor may be present, particularly in enclosed shower areas. Surface mold growth usually indicates moisture levels consistently above 60% relative humidity. Assessment should include checking for loose tiles, cracked grout, or soft spots that suggest moisture penetration behind surfaces.
During Removal: The cleaning process generates airborne spores, making proper ventilation and respiratory protection essential. Expect the musty odor to intensify initially as disturbed spores become airborne. Visual progress becomes apparent within minutes of scrubbing, with surface discoloration lifting from grout lines. The entire process typically requires 2-4 hours for a standard bathroom, including drying time. Stubborn stains may require multiple treatment cycles.
After Successful Removal: Grout lines should return to their original color without dark streaks or spots. The musty odor should dissipate within 24-48 hours with proper ventilation. Surfaces feel dry to the touch and maintain their dryness over several days. Sealed grout will appear slightly darker but uniform in color. Monitor the area for 2-3 weeks to ensure no regrowth occurs, which would indicate incomplete removal or ongoing moisture issues.
Professional remediators report that over 90% of tile and grout mold cases resolve completely with proper DIY treatment. However, regrowth within 30 days typically indicates underlying moisture problems requiring additional investigation and repair.
When to Call a Professional vs DIY
Most tile and grout mold situations are well-suited for DIY remediation, but specific circumstances require professional intervention. Understanding these criteria helps homeowners make informed decisions about remediation approach and avoid costly mistakes.
DIY Appropriate When: Mold growth is limited to surface areas less than 100 square feet, grout lines show surface discoloration without structural damage, tiles remain firmly attached to walls, and homeowners can identify and control the moisture source. DIY projects work best when mold growth is recent (less than 6 months) and limited to bathroom or kitchen areas with good ventilation access.
Professional Help Required When: Mold covers more than 100 square feet, tiles are loose or hollow-sounding when tapped, water damage extends behind tile surfaces, or structural issues are present. Professional intervention becomes necessary when mold growth affects multiple rooms, appears in HVAC systems, or when occupants experience persistent health symptoms. Additionally, rental properties and commercial buildings often require professional certification for insurance and liability purposes.
Cost Comparison Analysis: Understanding the financial implications helps homeowners make informed decisions about remediation approach.
| Scope | DIY Cost | Professional Cost | Time Investment |
|---|---|---|---|
| Small bathroom (50 sq ft) | $25-$75 | $300-$600 | 4-6 hours DIY |
| Large bathroom (100 sq ft) | $50-$125 | $600-$1,200 | 6-8 hours DIY |
| Multiple bathrooms | $100-$250 | $1,200-$2,500 | 12-16 hours DIY |
| Structural damage included | Not recommended | $2,000-$5,000 | Professional only |
Professional services include moisture assessment, containment setup, complete remediation, and post-remediation verification testing. DIY costs include tools, cleaning products, and protective equipment but require significant time investment and personal risk acceptance. Industry data shows that professional remediation reduces recurrence rates from 25% (DIY) to less than 5% when combined with moisture control measures.
Prevention Strategies for Tile and Grout
Preventing mold growth on tile and grout requires consistent moisture management and regular maintenance protocols. Effective prevention strategies address both immediate environmental factors and long-term structural considerations specific to tiled surfaces.
Daily Prevention Habits: Use a squeegee immediately after each shower to remove surface water from tile and glass surfaces. This simple step reduces ambient humidity by up to 40% and prevents water from settling in grout lines. Run bathroom exhaust fans for minimum 20 minutes after showering, or until mirrors clear completely. Open bathroom doors after use to promote air circulation and moisture dissipation.
Weekly Maintenance: Clean tile and grout surfaces with pH-neutral cleaners that don’t damage grout or remove sealers. Inspect caulked joints for gaps, cracks, or discoloration that indicate moisture penetration. Address any issues immediately to prevent water infiltration behind tiles.
Seasonal Considerations: During humid summer months, consider using a dehumidifier to maintain indoor humidity below 50%. Winter heating can dry grout excessively, making spring resealing important. Fall preparation should include thorough inspection and maintenance of all caulked joints before increased indoor humidity periods.
Annual Maintenance Schedule: Apply penetrating grout sealer every 12-18 months, or when water no longer beads on grout surfaces. Replace caulk around tubs and showers annually, using mold-resistant formulations. Inspect and clean exhaust fan assemblies to maintain proper airflow capacity.
Product Recommendations for Ongoing Prevention: Quality prevention products provide long-term protection and reduce maintenance requirements. Concrobium Mold Control offers residual protection when applied to clean surfaces, while penetrating sealers create moisture barriers in porous grout materials.
Related Materials and Cross-Contamination
Mold growth on tile and grout rarely occurs in isolation, as bathroom environments often combine multiple materials that create interconnected contamination pathways. Understanding these relationships helps homeowners address comprehensive remediation needs and prevent recurring problems.
Common Material Combinations: Tile installations typically interface with drywall surfaces, creating potential moisture migration paths behind tiles. When mold appears on grout lines, check adjacent wood trim, door frames, and window casings for signs of moisture damage or mold growth.
Cross-Contamination Pathways: Airborne spores from tile and grout mold easily spread to nearby carpet areas, particularly bathroom rugs and hallway carpeting. HVAC systems can distribute spores throughout homes, making comprehensive assessment important even for localized tile mold problems.
Material-Specific Spread Patterns: Moisture that supports tile and grout mold often indicates plumbing leaks or inadequate waterproofing that affects surrounding concrete subfloors or brick walls in older homes. Steam and humidity from shower areas create ideal conditions for mold growth on adjacent painted surfaces and ceiling materials.
Professional assessment becomes important when multiple materials show signs of mold growth, as this typically indicates systemic moisture problems requiring comprehensive remediation approaches beyond simple surface cleaning.
Frequently Asked Questions
How do I identify mold on tile and grout?
Mold on tile and grout appears as black, dark green, or pink discoloration primarily concentrated in grout lines and caulked joints. Look for fuzzy or slimy growth patterns, particularly in shower corners and areas where walls meet. A persistent musty odor often accompanies visible growth, even when discoloration is minimal.
Is mold on tile and grout dangerous?
Yes, mold on tile and grout can pose health risks through airborne spore exposure. Common symptoms include respiratory irritation, allergic reactions, and asthma exacerbation. People with compromised immune systems, young children, and elderly individuals face higher risks from prolonged exposure to bathroom mold growth.
How much does it cost to remove mold from tile and grout?
DIY mold removal from tile and grout typically costs $25-$125 for supplies and equipment, while professional remediation ranges from $300-$1,200 depending on affected area size. Costs increase significantly when structural damage or extensive water damage accompanies mold growth, potentially reaching $2,000-$5,000 for complete restoration.
Can you paint or seal over mold on tile and grout?
No, painting or sealing over mold on tile and grout is not effective and can worsen the problem. Mold will continue growing beneath sealants and paints, eventually breaking through and causing more extensive damage. Complete mold removal and moisture control must occur before applying any protective coatings or sealers.
How long does it take for mold to grow on tile and grout?
Mold can begin growing on grout surfaces within 24-48 hours under ideal conditions of moisture and warmth. Visible growth typically appears within 3-7 days when humidity levels exceed 60% and organic matter (soap residue, body oils) is present. Bathroom environments provide optimal conditions for rapid mold establishment.
What causes mold on tile and grout?
Mold grows on tile and grout due to moisture retention in porous grout materials combined with organic food sources like soap scum and body oils. Poor ventilation, inadequate exhaust fan capacity, and failure to remove surface water after showering create ideal growth conditions. Cracked or deteriorated caulk allows water penetration behind tiles.
Can you save tile and grout with mold on it?
Yes, tile and grout with surface mold can almost always be saved through proper cleaning and treatment. The non-porous nature of ceramic and porcelain tiles prevents deep mold penetration, while surface mold in grout responds well to appropriate cleaning agents. Only severely deteriorated grout requires replacement rather than cleaning.
How do I prevent mold on tile and grout?
Prevent mold on tile and grout by maintaining low humidity through proper ventilation, using squeegees after showers, and sealing grout annually. Run exhaust fans for 20+ minutes after bathing, replace deteriorated caulk promptly, and clean surfaces weekly with pH-neutral cleaners. Control moisture sources and ensure adequate air circulation in bathroom areas.
When should I call a professional for tile and grout mold?
Call a professional for tile and grout mold when growth covers more than 100 square feet, tiles become loose or hollow-sounding, or water damage extends behind surfaces. Professional help is also recommended when multiple rooms are affected, structural damage is present, or when occupants experience persistent health symptoms despite DIY remediation efforts.
Recommended Products for Tile and Grout Mold Removal
Professional-grade products designed specifically for tile and grout mold removal provide superior results compared to generic household cleaners. These recommended products have proven effectiveness based on verified buyer feedback and independent testing by remediation professionals.
- Professional Mold Remover Spray – Fast-acting formula specifically designed for bathroom surfaces with excellent grout penetration and stain removal capabilities
- Concrobium Mold Control – EPA-registered treatment that kills existing mold and prevents regrowth without harsh chemicals or toxic fumes
- Mold Encapsulant – Professional-grade sealer that locks in any remaining spores while creating moisture barrier protection for treated surfaces
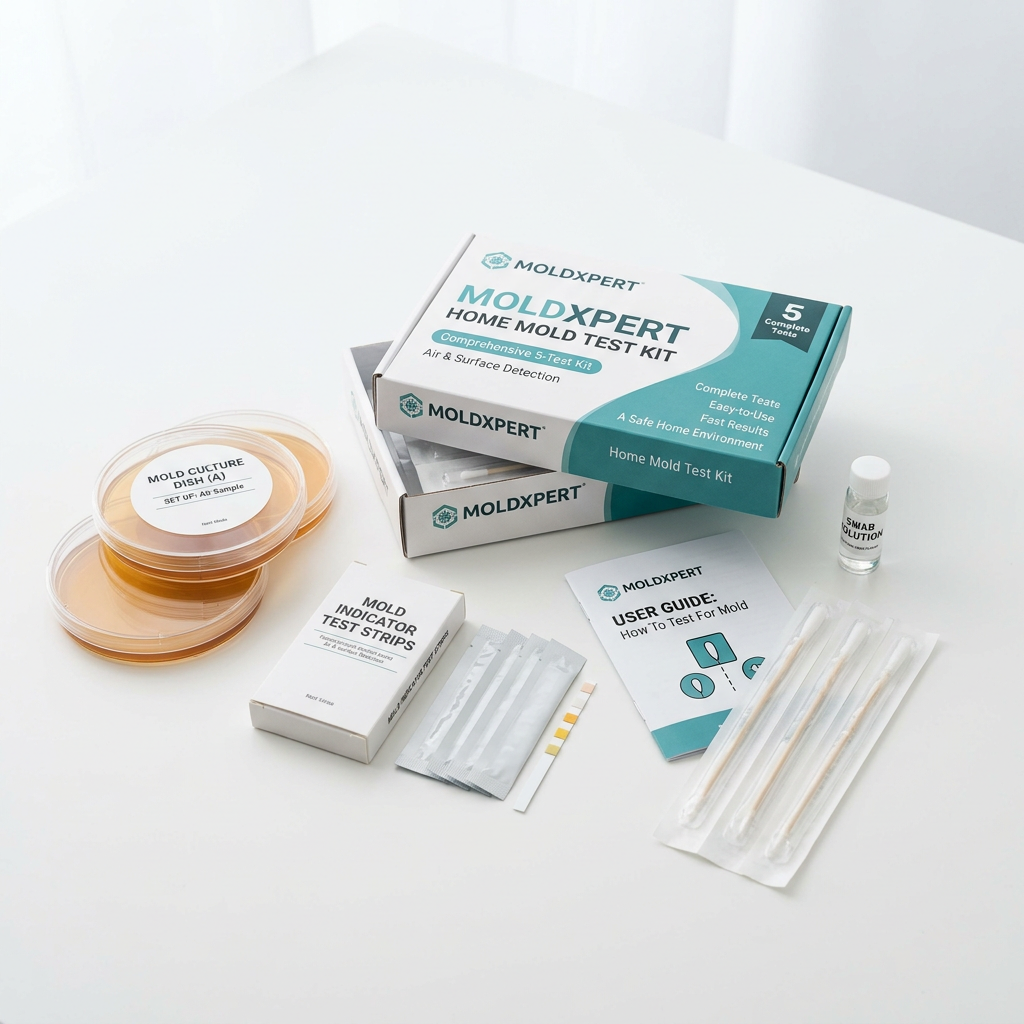
- Mold Test Kit – Laboratory-grade testing solution for identifying mold species and confirming complete removal after treatment
- Bathroom Dehumidifier – Compact moisture control unit specifically designed for bathroom environments to prevent future mold growth
- Digital Moisture Meter – Professional-grade instrument for detecting hidden moisture in walls and surfaces that could support mold growth
These products work synergistically to provide comprehensive mold remediation and prevention. The combination of effective removal agents, protective encapsulants, and monitoring equipment ensures both immediate results and long-term success in maintaining mold-free tile and grout surfaces.