Most homeowners spend thousands on mold remediation without ever addressing the root cause. Meanwhile, the single most effective mold prevention tool costs less than $30 and takes 60 seconds to set up. It is a digital hygrometer — a small device that continuously monitors the humidity level in your home.
Mold needs moisture to grow. Specifically, mold colonies begin forming when indoor relative humidity stays above 55% for extended periods. A hygrometer tells you exactly where you stand — giving you time to act before invisible mold spores become a visible (and expensive) problem.
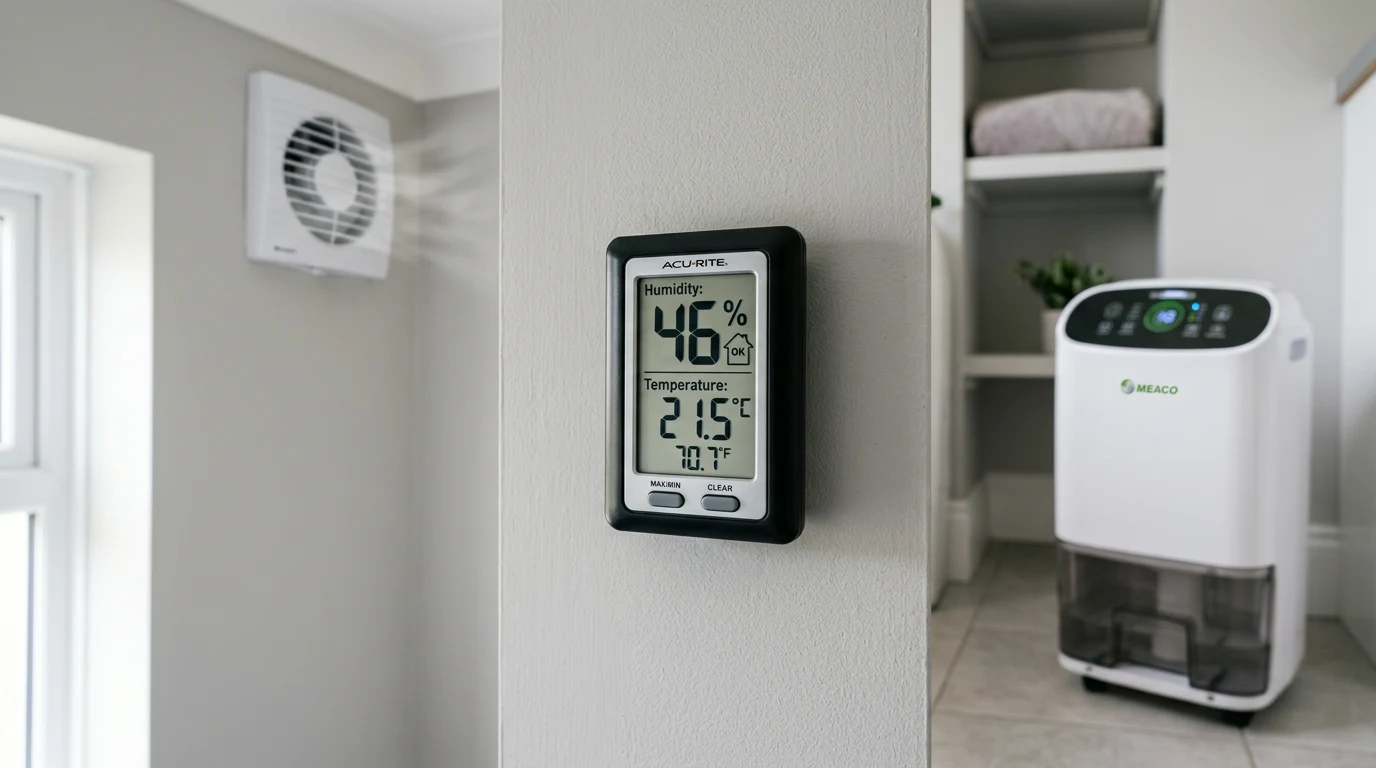
Why Humidity Monitoring Prevents Mold
According to the EPA’s guide to mold and moisture, keeping indoor humidity between 30% and 50% is the primary recommendation for mold prevention. The problem is that most people have no idea what their home’s humidity level actually is.
Humidity fluctuates throughout the day based on cooking, showering, weather, HVAC operation, and even the number of people in the room. Without a hygrometer, you are guessing — and by the time you feel dampness on surfaces, humidity has likely been dangerously high for hours or days.
The 55% Alert Threshold
Here is what different humidity readings mean for mold risk:
- 30% to 45%: Ideal range. Mold growth is extremely unlikely. Comfortable for humans and safe for building materials.
- 45% to 55%: Acceptable but watch closely. Some mold species can begin growing at the upper end of this range.
- 55% to 65%: Danger zone. Mold spores actively germinate on organic surfaces (wood, drywall paper, carpet). Take action immediately.
- Above 65%: Critical. Mold growth is virtually guaranteed within 24 to 48 hours on susceptible surfaces. Run a dehumidifier immediately.
When your hygrometer reads 55% or above, treat it as an alarm. Either increase ventilation, turn on a dehumidifier, or run your AC to bring levels down. This single habit prevents the vast majority of mold problems.
What to Look for in a Mold Prevention Hygrometer
Not all hygrometers are created equal. For effective mold prevention, you need specific features.
Must-Have Features
- Digital display: Analog dial hygrometers are decorative but inaccurate by 10% or more. Digital sensors provide accuracy within 2% to 3%.
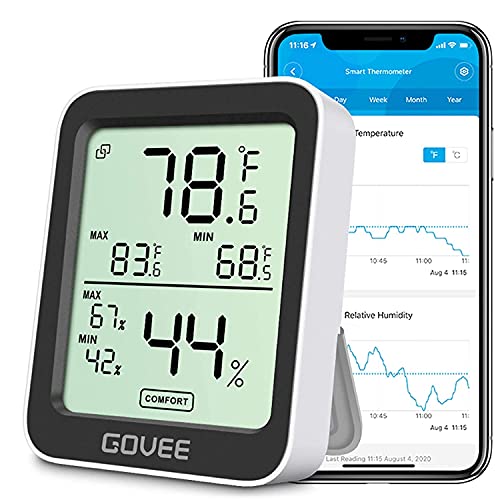
- Min/max recording: This feature logs the highest and lowest humidity levels since the last reset. You can check the overnight maximum — when humidity typically peaks — even if you were asleep.
- Temperature display: Temperature and humidity interact. Cold surfaces in warm, humid rooms create condensation, which is the leading cause of bathroom ceiling mold and window mold.
- Comfort indicator: Many models display a simple icon showing whether conditions are dry, comfortable, or wet. This makes it easy to glance at and understand.
- Compact size: A hygrometer that sits on a shelf or mounts on a wall with adhesive is more likely to stay in place than a bulky weather station.
Recommended: ThermoPro TP49 Digital Hygrometer
The ThermoPro TP49 Digital Hygrometer is one of the best-selling humidity monitors for mold prevention. At under $10 per unit, you can afford to place one in every high-risk room.
- Accuracy: within 2% to 3% relative humidity
- Updates readings every 10 seconds
- Displays temperature, humidity, and comfort level
- Records min and max values
- Battery powered (AAA, lasts approximately 12 months)
- Magnetic back, tabletop stand, and wall-mount hook
At this price point, buying a 3-pack to cover your basement, bathroom, and bedroom costs less than a single dinner out — and could prevent thousands in mold damage.
Where to Place Hygrometers for Mold Prevention
Placement matters as much as the device itself. Mold does not grow evenly throughout your home — it targets the most humid spots. Place hygrometers in these high-risk locations:
1. Basement
Basements are the number one location for mold in most homes. Below-grade walls stay cooler than the air, creating condensation. Place the hygrometer on an interior wall at chest height, away from windows and exterior walls (which can give false low readings due to air movement). If readings consistently exceed 55%, run a dedicated basement dehumidifier.
2. Bathroom
Bathrooms generate massive humidity spikes during showers — often reaching 80% to 90% temporarily. Place the hygrometer on the wall opposite the shower. What matters is not the peak during a shower (that is normal), but how quickly humidity drops afterward. If your bathroom does not return to below 55% within 30 minutes of showering, your exhaust fan is undersized or not running long enough.
3. Bedroom (Especially if Closed at Night)
A sleeping adult exhales approximately 200 milliliters of water vapor per night. In a closed bedroom, this moisture accumulates. If you wake up with condensation on windows, place a hygrometer on your nightstand. Readings above 60% in the morning indicate you need better ventilation — crack a door or run a fan.
4. Crawl Space
If your home has a crawl space, monitoring humidity there is essential. Crawl spaces routinely reach 70% to 80% humidity without a vapor barrier. Place the hygrometer on a support post or beam, protected from direct contact with the ground. Consider a WiFi-enabled hygrometer for crawl spaces so you can check readings remotely.
5. Attic
Attic mold develops when warm, humid air rises from living spaces and meets cold roof sheathing. Place a hygrometer near the ridge vent or in the center of the attic. Readings above 55% indicate inadequate attic ventilation or air sealing problems from below.
How to Respond When Humidity Is Too High
When your hygrometer reads above 55%, take action within hours, not days. Here is your response protocol:
- Immediate (0 to 2 hours): Turn on a dehumidifier, run exhaust fans, or turn on your AC. Open windows only if outdoor humidity is below 50%.
- Short-term (same day): Identify the moisture source. Is it a leak, poor ventilation, or weather-related? Check under sinks, around windows, and near the HVAC system.
- Medium-term (within 1 week): Fix the source. Repair leaks, upgrade exhaust fans, or add a dehumidifier for chronic humidity areas.
- Long-term (seasonal): Monitor patterns. If humidity spikes every summer afternoon, schedule your AC accordingly. If basements are always humid in spring, run the dehumidifier from March through October.
Hygrometer vs. Smart Home Humidity Sensors
Smart home sensors from companies like Govee, SensorPush, and Ecobee offer WiFi connectivity, phone alerts, and data logging. They cost $30 to $80 per sensor. These are excellent upgrades, especially for spaces you do not visit daily like crawl spaces and attics.
However, a basic $10 digital hygrometer in every room beats a single $80 smart sensor in one room. Start with inexpensive units to identify your problem areas, then upgrade specific locations to smart sensors if you want remote monitoring and alerts.
Common Hygrometer Mistakes
- Placing near a vent: HVAC supply air is dry. A hygrometer in the airstream reads artificially low.
- Only checking occasionally: Humidity changes throughout the day. Use the min/max feature to track overnight peaks.
- Ignoring seasonal changes: Summer humidity is fundamentally different from winter humidity. Adjust your thresholds and responses seasonally.
- Using only one: A single hygrometer in your living room tells you nothing about your basement or crawl space. Cover every high-risk zone.
- Not calibrating: New hygrometers can be off by 3% to 5%. Use the salt test (place in a sealed bag with a cup of salt and water for 12 hours — should read 75%) to verify accuracy.
Building a Complete Humidity Monitoring System
For comprehensive mold prevention, here is a practical monitoring setup for a typical 3-bedroom home:
- 1 hygrometer in the basement — your highest-risk area
- 1 in the main bathroom — monitors ventilation effectiveness
- 1 in the master bedroom — catches overnight humidity buildup
- 1 in the crawl space (if applicable) — catches ground moisture intrusion
- 1 near the HVAC return — represents whole-house average
Total cost: $30 to $50 for basic digital units. This investment protects against mold problems that cost $3,000 to $30,000 to remediate. The return on investment is extraordinary, and the peace of mind is immediate — you will know, at a glance, whether your home is in the mold danger zone.
Frequently Asked Questions
What humidity level causes mold?
Mold spores begin actively growing when relative humidity stays above 55% for extended periods (generally 24 to 48 hours). At 65% and above, mold growth on susceptible surfaces like drywall and wood is virtually guaranteed. Keep indoor humidity between 30% and 50% for reliable mold prevention.
Are cheap hygrometers accurate enough for mold prevention?
Yes. Even budget digital hygrometers ($8 to $15) are accurate within 3% to 5%. For mold prevention, you need to know whether you are at 45% or 65% — not whether you are at 47.2% or 48.1%. A $10 unit provides more than enough precision for this purpose.
How often should I check my hygrometer?
Develop a habit of glancing at it daily, the same way you check a thermostat. Use the min/max feature to review overnight peaks every morning. During high-humidity seasons (summer and early fall), check more frequently.
Can a hygrometer detect existing mold?
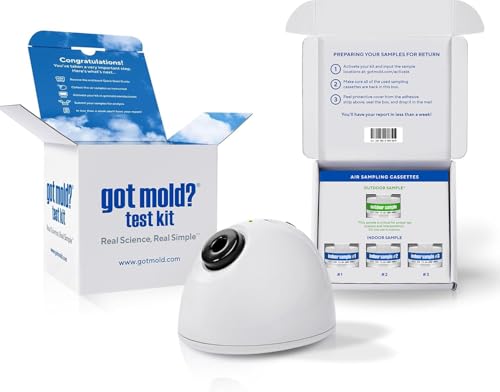
No. A hygrometer measures humidity in the air, not mold presence. However, consistently high readings (above 55%) in a specific area strongly suggest that mold is either already growing or will soon. Use a hygrometer for prevention and a mold test for detection.
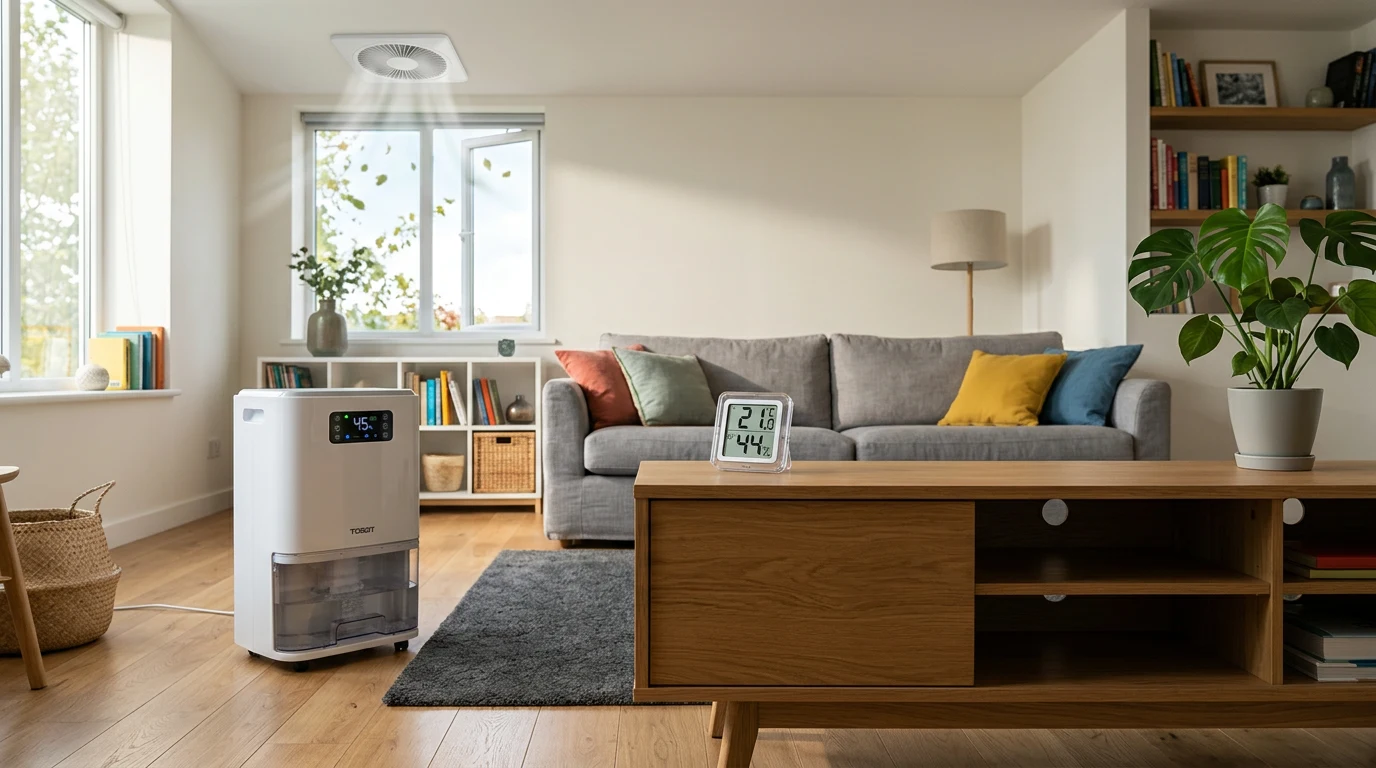
Do I need a hygrometer if I have a dehumidifier with a built-in sensor?
Dehumidifier sensors measure humidity at the unit itself, which is often near the floor where air is being drawn in. A wall-mounted hygrometer at chest height gives you a more representative reading of room conditions. Ideally, use both — the dehumidifier sensor to control the unit, and a separate hygrometer to verify the room is actually staying below your target.
Frequently Asked Questions
What is the ‘$30 tool’ mentioned in the article title?
The ‘$30 tool’ refers to a hygrometer, a device used to measure the humidity levels in your home. Maintaining optimal humidity is crucial for preventing mold growth, as mold thrives in damp environments.
How does a hygrometer help prevent mold?
A hygrometer provides real-time data on your indoor humidity, allowing you to identify and address high moisture areas before mold can take hold. By monitoring humidity, you can adjust ventilation or use dehumidifiers to keep levels within the recommended range (typically 30-50%).
Where should I place the hygrometer for the most accurate readings?
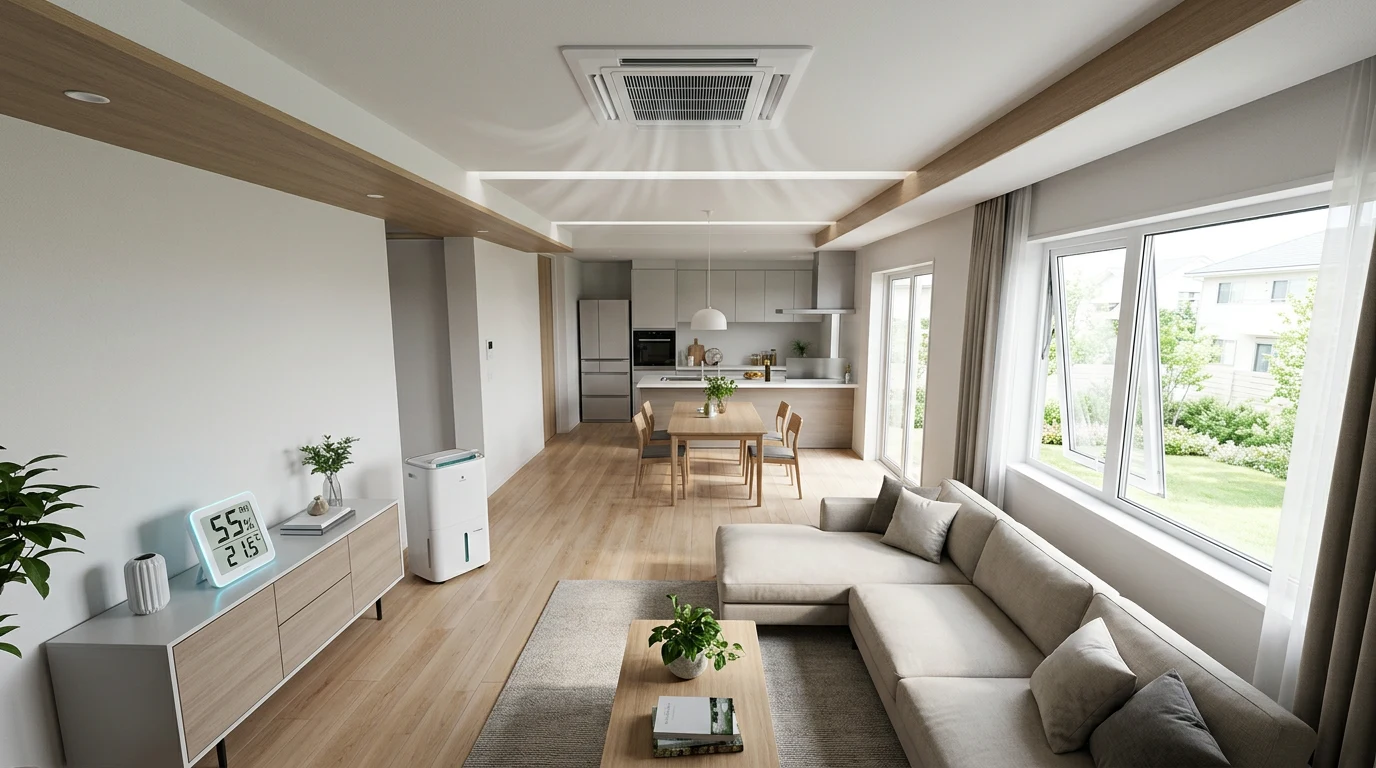
For comprehensive coverage, place hygrometers in areas prone to moisture, such as bathrooms, kitchens, basements, and laundry rooms. It’s also beneficial to have one in a central living area to monitor overall home humidity.
What humidity level indicates a risk for mold growth?
Sustained indoor humidity levels above 60% create an ideal environment for mold spores to germinate and grow. Prolonged periods of high humidity, even if not constantly above 60%, can also contribute to mold problems.
Besides using a hygrometer, what other simple steps can I take to prevent mold?
Beyond monitoring humidity with a hygrometer, ensure proper ventilation in bathrooms and kitchens, promptly fix any leaks, and clean up spills immediately. These actions, combined with humidity control, significantly reduce mold risk.
Can a $30 hygrometer truly replace professional mold remediation?
A hygrometer is a preventative tool, not a remediation solution for existing mold. While it’s highly effective at preventing new mold growth by identifying high-humidity conditions, if you already have a significant mold problem, professional remediation is necessary.
These statements have not been evaluated by the Food and Drug Administration. This information is not intended to diagnose, treat, cure, or prevent any disease. Content is for informational purposes only and is not medical advice; consult a qualified healthcare provider before starting any supplement. As an Amazon Associate we earn from qualifying purchases.