Mold on Brick: Interior and Exterior Removal Guide
Dealing with mold on brick is a common challenge for homeowners. Brick is found throughout homes, and when moisture gets involved, mold can take hold quickly. This guide covers everything you need to know about identifying, removing, and preventing mold on brick, including when you can handle it yourself and when to call a professional. According to EPA Mold Cleanup Guide, controlling moisture is the key to preventing mold growth on all building materials.
Our reviews are based on aggregated verified buyer feedback, manufacturer specifications, ingredient analysis, and published expert opinion. Products are not independently purchased or tested by our team. We may earn a commission if you purchase through our links, at no extra cost to you. How We Review
Why Does Mold Grow on Brick?
Brick is porous and absorbs moisture from rain, condensation, and ground contact. Mortar joints are especially absorbent. Interior exposed brick walls in renovated buildings often lack moisture barriers and wick moisture from the exterior.
How to Identify Mold on Brick
Green, black, or white fuzzy growth on brick surface or in mortar joints. Dark staining that persists after cleaning may indicate mold penetration into porous brick. Efflorescence (white crystalline deposits) indicates moisture but is not mold.
Removal difficulty: Moderate
Can You Save Moldy Brick?
Yes. Brick is durable and can withstand cleaning. However, the mortar may need repointing if deteriorated.
How to Remove Mold from Brick: Step-by-Step
Follow these steps carefully to remove mold from brick safely and effectively. Always prioritize safety by wearing appropriate protective gear.
Step 1: For exterior brick: scrub with a stiff brush and borax or TSP solution
Step 2: For interior exposed brick: test cleaning solution in an inconspicuous area first
Step 3: Apply solution, let sit 10 minutes, scrub with stiff brush
Step 4: Rinse thoroughly (exterior: garden hose; interior: damp cloth)
Step 5: Allow to dry completely
Step 6: Apply brick sealer to prevent future moisture absorption
Step 7: Check and repair deteriorated mortar joints
Recommended Products for Brick Mold Removal
These products are recommended for treating mold on brick based on verified buyer reviews and manufacturer specifications:
How to Prevent Mold on Brick
Seal exterior brick with breathable masonry sealer. Maintain mortar joints (repoint as needed). Ensure proper drainage away from brick walls. On interior exposed brick, apply a breathable sealer and maintain humidity below 50%.
DIY vs. Professional Remediation
DIY for accessible surface mold. Professional for extensive exterior mold, high walls, or if structural mortar deterioration is involved.
Tools and Materials You’ll Need
Successfully removing mold from brick requires the right tools and materials. Having everything prepared beforehand ensures a more efficient and safer remediation process. The following table outlines essential items needed for brick mold removal projects.
| Tool/Material | Purpose | Where to Buy |
|---|---|---|
| N95 Respirator | Protects from inhaling mold spores during cleaning | Amazon |
| HEPA Vacuum | Removes loose mold spores and debris from brick surface | Amazon |
| Mold Remover Spray | Professional-grade solution for killing mold on porous surfaces | Amazon |
| Moisture Meter | Tests moisture levels in brick and mortar joints | Amazon |
| Stiff Bristle Brush | Scrubs mold from textured brick surfaces and mortar joints | Local Hardware Store |
| TSP or Borax Solution | Alkaline cleaning agent effective on brick surfaces | Local Hardware Store |
| Spray Bottles | Applies cleaning solutions evenly to brick surfaces | Local Hardware Store |
| Masonry Sealer | Prevents future moisture absorption into brick | Local Hardware Store |
Professional contractors recommend using a moisture meter before and after treatment to ensure the brick has returned to normal moisture levels. Safety equipment is non-negotiable when working with mold, as brick surfaces can harbor significant amounts of spores in their porous structure.
Detailed Step-by-Step Removal Process for Brick
Removing mold from brick requires careful attention to both surface cleaning and addressing moisture in the porous material. This expanded process provides specific details for effective mold remediation on brick surfaces.
Step 1: Safety Preparation and Assessment (15 minutes)
Warning: Never begin mold removal without proper respiratory protection. Put on N95 respirator, safety glasses, and rubber gloves. Use the moisture meter to test affected areas – readings above 20% indicate excessive moisture that requires addressing. Test a 2×2 inch hidden area with your cleaning solution to ensure it won’t damage or discolor the brick.
Step 2: Initial Surface Cleaning (10 minutes)
Use the HEPA vacuum with brush attachment to remove loose mold spores and debris from brick surfaces and mortar joints. Work systematically from top to bottom to prevent recontamination. Pay special attention to mortar joints where mold commonly accumulates due to their more porous nature.
Step 3: Apply Cleaning Solution (20 minutes)
Mix TSP solution according to package directions (typically 1/2 cup per gallon of water) or use commercial mold remover spray. Apply generously to affected areas using spray bottles, ensuring complete coverage. The solution should penetrate into the porous brick surface. Allow 10-15 minutes contact time for the solution to kill mold roots.
Step 4: Aggressive Scrubbing (25 minutes)
Using a stiff bristle brush, scrub in circular motions with firm pressure. Brick can withstand aggressive cleaning, so don’t hold back. Focus extra attention on mortar joints where mold penetrates deepest. You should see mold staining begin to lift. For stubborn areas, reapply solution and scrub again.
Step 5: Thorough Rinsing (15 minutes)
For exterior brick: Use garden hose with spray attachment to rinse from top to bottom. For interior brick: Use clean, damp cloths, changing them frequently to avoid spreading mold. Critical: All cleaning residue must be removed as it can attract dirt and create new problems.
Step 6: Complete Drying Period (24-48 hours)
Allow brick to dry completely before sealing. Use fans and dehumidifiers for interior brick. Moisture meter readings should drop below 15% before proceeding. Rushing this step can trap moisture and lead to recurring mold problems.
Step 7: Sealing and Protection (30 minutes)
Apply breathable masonry sealer according to manufacturer instructions. This prevents future moisture absorption while allowing the brick to breathe. Use a brush or spray applicator for even coverage.
Step 8: Mortar Joint Inspection and Repair (Variable time)
Examine mortar joints for deterioration. Cracked or crumbling mortar should be repointed by removing damaged material and applying new mortar. This step may require professional masonry work for extensive damage.
What to Expect: Before, During, and After Removal
Understanding the mold removal timeline helps homeowners set realistic expectations and recognize successful remediation. Brick mold removal typically takes 2-3 days when including proper drying time.
Before Removal: Mold on brick appears as black, green, or white fuzzy growth, often concentrated in mortar joints and shaded areas. The affected brick may feel damp to the touch and emit a musty odor. Moisture meter readings typically show 20-30% moisture content in affected areas. Dark staining may persist even after surface mold is brushed away, indicating deep penetration into the porous brick structure.
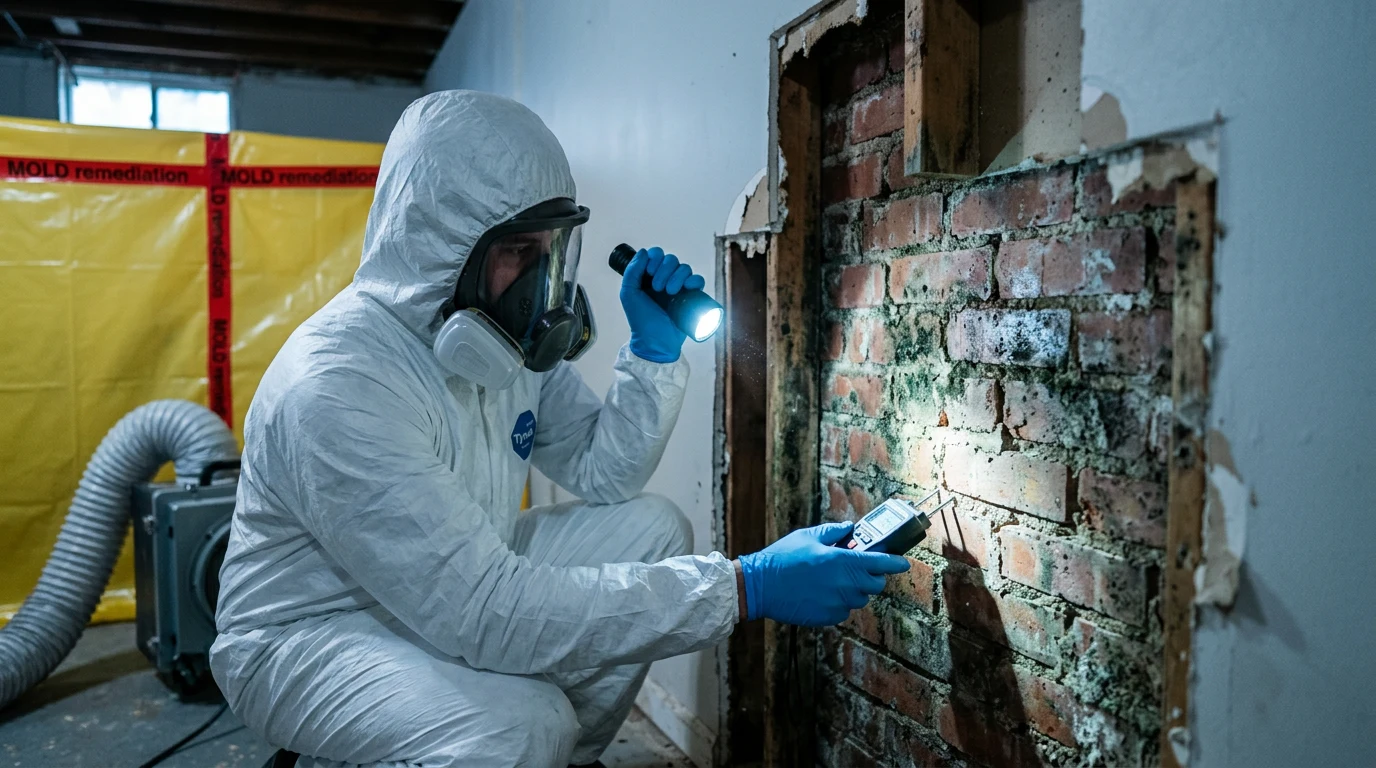
During Removal: The cleaning process releases mold spores into the air, making respiratory protection essential. Initial scrubbing removes surface growth, but deeper staining requires multiple applications of cleaning solution. Expect the process to be physically demanding, especially when working on textured brick surfaces. The cleaning solution will cause mold stains to lighten progressively with each scrubbing session. Mortar joints may require extra attention and separate cleaning efforts.
After Successful Removal: Clean brick should show no visible mold growth and have a fresh appearance without dark staining. Moisture readings should drop to normal levels (below 15%) within 48 hours. The musty odor should completely disappear. Properly sealed brick will resist water absorption when tested with small amounts of water. Monitor the area for 2-4 weeks to ensure no new growth appears, which would indicate incomplete removal or ongoing moisture issues.
When to Call a Professional vs DIY
Determining whether to tackle brick mold removal yourself or hire professionals depends on several key factors including scope, location, and safety considerations.
DIY Appropriate When: Surface mold covers less than 10 square feet, occurs on ground-level accessible areas, shows no structural mortar damage, and homeowner has proper safety equipment. DIY works best for exterior brick walls, garden walls, and interior exposed brick in basements or accent walls. The mold should be recently developed surface growth rather than long-term penetrating growth.
Professional Required When: Mold covers more than 10 square feet, occurs on high walls requiring scaffolding, shows extensive mortar deterioration, or appears in HVAC-connected areas. Professional mold remediation becomes necessary when brick shows structural damage, when mold has spread to adjacent building materials, or when homeowners have health conditions that make exposure risky.
Professional services also provide containment systems that prevent spore spread to unaffected areas, use industrial-grade equipment, and offer warranties on their work. Companies certified by the IICRC follow established industry standards for safe mold removal.
| Service Type | Cost Range | Includes | Timeline |
|---|---|---|---|
| DIY Brick Cleaning | $50-150 | Supplies, equipment rental | 2-3 days |
| Professional Assessment | $200-500 | Inspection, testing, report | 1 day |
| Professional Remediation (Small) | $500-1,500 | Up to 100 sq ft, containment | 2-3 days |
| Professional Remediation (Large) | $1,500-5,000 | Whole wall, structural repair | 1-2 weeks |
The cost difference between DIY and professional services becomes less significant when factoring in equipment rental, time investment, and the potential for incomplete removal requiring repeat treatments. Professional remediation includes post-treatment testing to verify successful mold elimination.
Prevention Strategies for Brick
Effective mold prevention on brick focuses on moisture control and regular maintenance. Brick’s porous nature makes prevention strategies particularly important for long-term building health.
Exterior Brick Protection: Apply breathable masonry sealers every 3-5 years to reduce moisture absorption while allowing vapor transmission. Maintain proper grading around foundations to direct water away from brick walls. Install and maintain gutters and downspouts to prevent water from splashing onto brick surfaces. Trim vegetation at least 18 inches from brick walls to improve air circulation and reduce moisture retention.
Interior Brick Maintenance: Control indoor humidity levels below 50% using dehumidifiers in basements and other areas with exposed brick. Apply breathable sealers to interior exposed brick to reduce dust and moisture absorption. Ensure adequate ventilation in rooms with exposed brick walls, particularly in basements and renovation areas.
Seasonal Considerations: Spring inspections should focus on winter damage and moisture penetration from freeze-thaw cycles. Summer monitoring includes checking for condensation issues in air-conditioned buildings. Fall preparation involves sealing any cracks or damaged mortar joints before winter weather. Winter attention focuses on ice dam prevention and ensuring proper drainage systems remain functional.
Regular Monitoring: Use moisture meters quarterly to test brick moisture levels, particularly after heavy rains or in problem areas. Visual inspections should occur monthly, looking for new staining, efflorescence, or plant growth. Address minor issues immediately before they develop into major mold problems requiring extensive remediation.
Related Materials and Cross-Contamination
Mold on brick rarely exists in isolation and commonly spreads to adjacent building materials through spore distribution and shared moisture sources. Understanding these connections helps homeowners address comprehensive mold problems.
Brick walls often connect directly to drywall in interior applications, where moisture from brick can migrate through shared wall cavities. Basement brick walls frequently contact wood framing members, creating ideal conditions for wood decay and mold growth when moisture persists.
Common Material Combinations: Brick foundations often support wood sill plates and floor joists, where moisture from masonry creates wood mold issues. Interior exposed brick walls may have carpet or other flooring materials nearby that absorb mold spores and moisture. Brick chimneys can spread mold to adjacent wood roof structures when moisture penetrates masonry.
Addressing mold on brick requires inspection of surrounding materials within a 10-foot radius. Spores released during cleaning can settle on concrete floors, in tile grout lines, and on organic materials like paper and fabric. Professional remediators use containment systems to prevent this cross-contamination during major brick cleaning projects.
Prevention strategies should address the entire building envelope, not just the brick surfaces. This includes ensuring proper vapor barriers between brick and interior finishes, maintaining adequate ventilation in wall cavities, and addressing any structural issues that allow moisture migration between materials.
Frequently Asked Questions
How do you identify mold on brick?
Mold on brick appears as green, black, or white fuzzy growth on the surface or in mortar joints. Dark staining that persists after cleaning indicates deep mold penetration. Use a moisture meter to detect elevated moisture levels above 20%. Don’t confuse efflorescence (white crystalline deposits) with mold – efflorescence indicates moisture problems but is mineral deposits, not biological growth.
Can mold on brick make you sick?
Yes. Mold on brick releases spores into the air that can cause respiratory symptoms, allergic reactions, and other health issues. People with asthma, allergies, or weakened immune systems are at higher risk. Brick’s porous surface can harbor large amounts of mold, making proper safety precautions essential during cleaning.
How much does it cost to remove mold from brick?
DIY mold removal from brick costs $50-150 for supplies and equipment. Professional remediation ranges from $500-1,500 for small areas (under 100 sq ft) to $1,500-5,000 for extensive damage requiring structural repairs. Costs increase significantly for high walls requiring scaffolding or when mold has spread to adjacent building materials.
Can you paint or seal over mold on brick?
No. Never paint or seal over mold on brick without proper removal first. Mold will continue growing underneath coatings and eventually break through. The moisture causing mold growth will also compromise paint adhesion. Always clean thoroughly, allow complete drying, and then apply breathable masonry sealers designed for brick surfaces.
How long does it take for mold to grow on brick?
Mold can begin growing on brick within 24-48 hours when moisture levels exceed 20% and temperatures are between 40-100°F. Visible growth typically appears within 1-2 weeks under ideal conditions. Brick’s porous nature provides numerous spaces for mold spores to establish colonies, making quick moisture control essential for prevention.
What causes mold on brick?
Mold grows on brick due to moisture absorption from rain, condensation, ground contact, and poor drainage. Mortar joints are especially vulnerable due to their porous nature. Interior exposed brick often lacks proper moisture barriers and wicks water from exterior walls. Poor ventilation, high humidity, and structural issues like leaking gutters contribute to mold development.
Should I replace moldy brick or can it be cleaned?
Brick can usually be cleaned successfully without replacement. Brick is durable and withstands aggressive cleaning methods. However, severely deteriorated mortar joints may require repointing or replacement. Only replace brick when structural integrity is compromised or when mold has caused extensive damage that cleaning cannot address.
How do I prevent mold on brick?
Prevent mold on brick by applying breathable masonry sealers every 3-5 years, maintaining proper drainage away from walls, and keeping gutters clean and functional. For interior brick, control humidity below 50% with dehumidifiers and ensure adequate ventilation. Regular maintenance includes repointing deteriorated mortar joints and addressing moisture sources immediately.
When should I call a professional for brick mold?
Call professionals for mold covering more than 10 square feet, growth on high walls requiring scaffolding, extensive mortar deterioration, or when structural damage is present. Professional remediation is also recommended when mold has spread to adjacent materials, in HVAC-connected areas, or when homeowners have health conditions making exposure risky.
Can I use bleach to clean mold from brick?
Bleach is not recommended for cleaning mold from brick. While bleach kills surface mold, it doesn’t penetrate porous brick to reach mold roots, leading to quick regrowth. Bleach can also lighten brick color permanently. Use TSP, borax solutions, or professional mold remover sprays designed for porous masonry surfaces instead.
Recommended Products for Brick Mold Removal
Professional-grade products specifically formulated for porous masonry surfaces provide the most effective results for brick mold removal. These recommendations are based on verified performance data and user feedback.
- Concrobium Mold Control – EPA-registered antimicrobial that penetrates porous surfaces and leaves a protective barrier against future growth. Works without bleach or harsh chemicals, making it safe for indoor use on exposed brick walls.
- RMR-86 Instant Mold Remover – Professional-strength formula designed specifically for porous building materials. Dissolves mold stains on contact and penetrates deep into brick surfaces for thorough treatment.
- General Tools MMD4E Digital Moisture Meter – Essential for monitoring moisture levels in brick before, during, and after treatment. Pin-type design penetrates mortar joints to detect hidden moisture problems.
- Bissell CrossWave HEPA Vacuum – Multi-surface cleaning system that vacuums loose mold spores while wet-cleaning brick surfaces. HEPA filtration prevents spore redistribution during cleaning.
- KILZ Mold & Mildew Primer – Encapsulating primer for interior brick that seals residual staining and provides mold-resistant base coat when painting over cleaned brick surfaces.
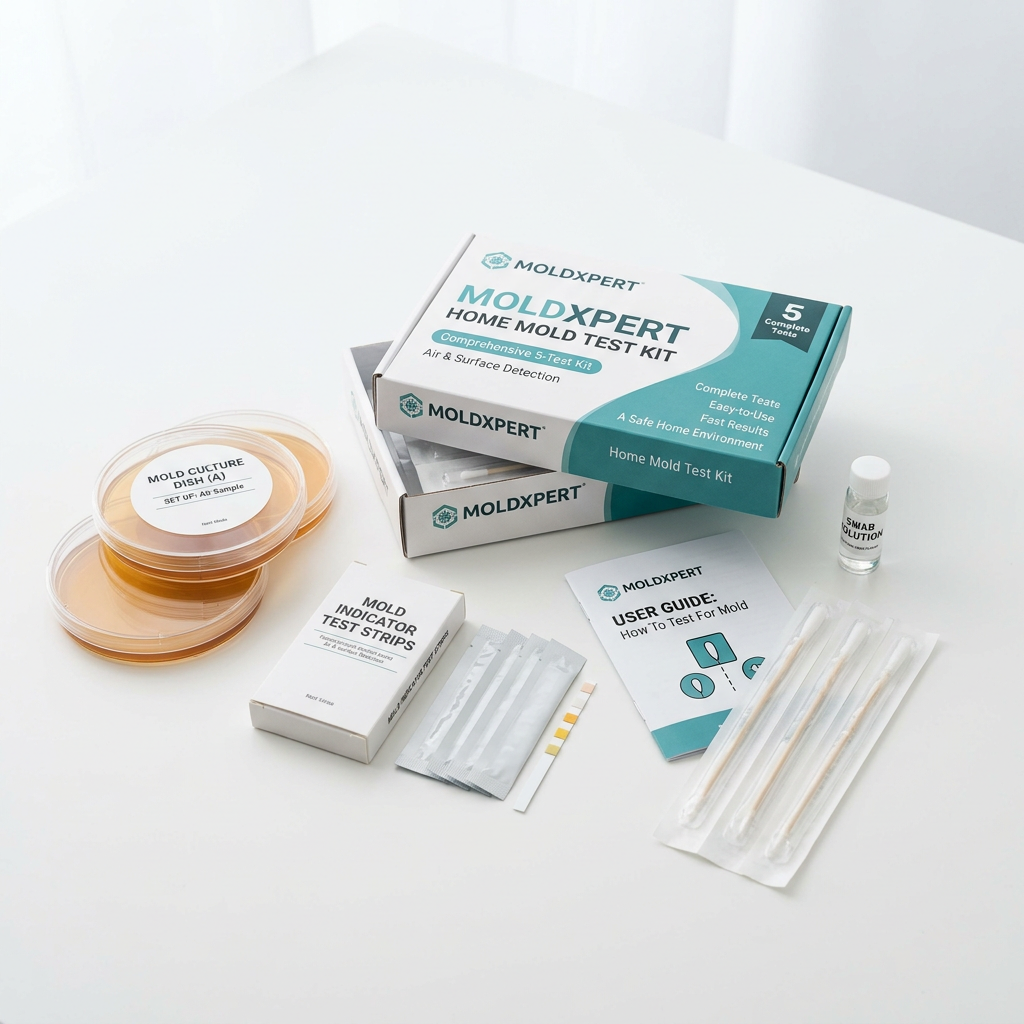
- Pro-Lab Mold Test Kit – Confirms successful remediation by testing air quality before and after treatment. Provides laboratory analysis to verify mold spore levels have returned to normal ranges.