Finding mold in your home is stressful. Finding the right mold testing kit to figure out what you’re dealing with? That can feel just as overwhelming. Between DIY swab tests, air sampling cassettes, ERMI dust analysis, and full professional inspections, the options range from $10 to $1,000+. The difference between choosing the right test and wasting your money often comes down to understanding what each test actually measures, and what it can’t tell you.
This guide breaks down every type of mold test available in 2026, compares DIY kits against professional mold inspection, and explains how to read your lab results so you can take the right next step. Whether you suspect hidden mold behind drywall, want to verify air quality after remediation, or need documentation for a landlord dispute, there’s a specific test designed for your situation.
Why Mold Testing Matters (And When You Can Skip It)
Before spending money on any mold testing kit, it helps to understand when testing is necessary and when it isn’t. The EPA’s official position is straightforward: if you can see mold and it covers less than 10 square feet, you can clean it up without testing. You already know it’s there.
Testing becomes valuable in specific scenarios. If you smell a persistent musty odor but can’t locate the source, air sampling can confirm elevated spore counts and point toward hidden growth. If you’re experiencing symptoms of mold exposure like chronic congestion, headaches, or respiratory irritation, testing provides documentation that connects your environment to your health complaints. And if you’ve completed mold remediation, post-clearance testing is the only reliable way to verify the job was done correctly.
The scenarios where testing genuinely helps include:
- Suspected hidden mold (musty smell, no visible growth)
- Health symptoms that worsen at home and improve when you leave
- Pre-purchase home inspection during real estate transactions
- Post-remediation clearance verification
- Landlord/tenant disputes requiring documentation
- Insurance claims that require proof of contamination levels
- Confirming species identification (particularly black mold like Stachybotrys chartarum)
Types of Mold Tests Explained
Not all mold tests measure the same thing. The type of test you need depends entirely on what question you’re trying to answer. Here’s a breakdown of every major testing method, what it measures, and where it falls short.
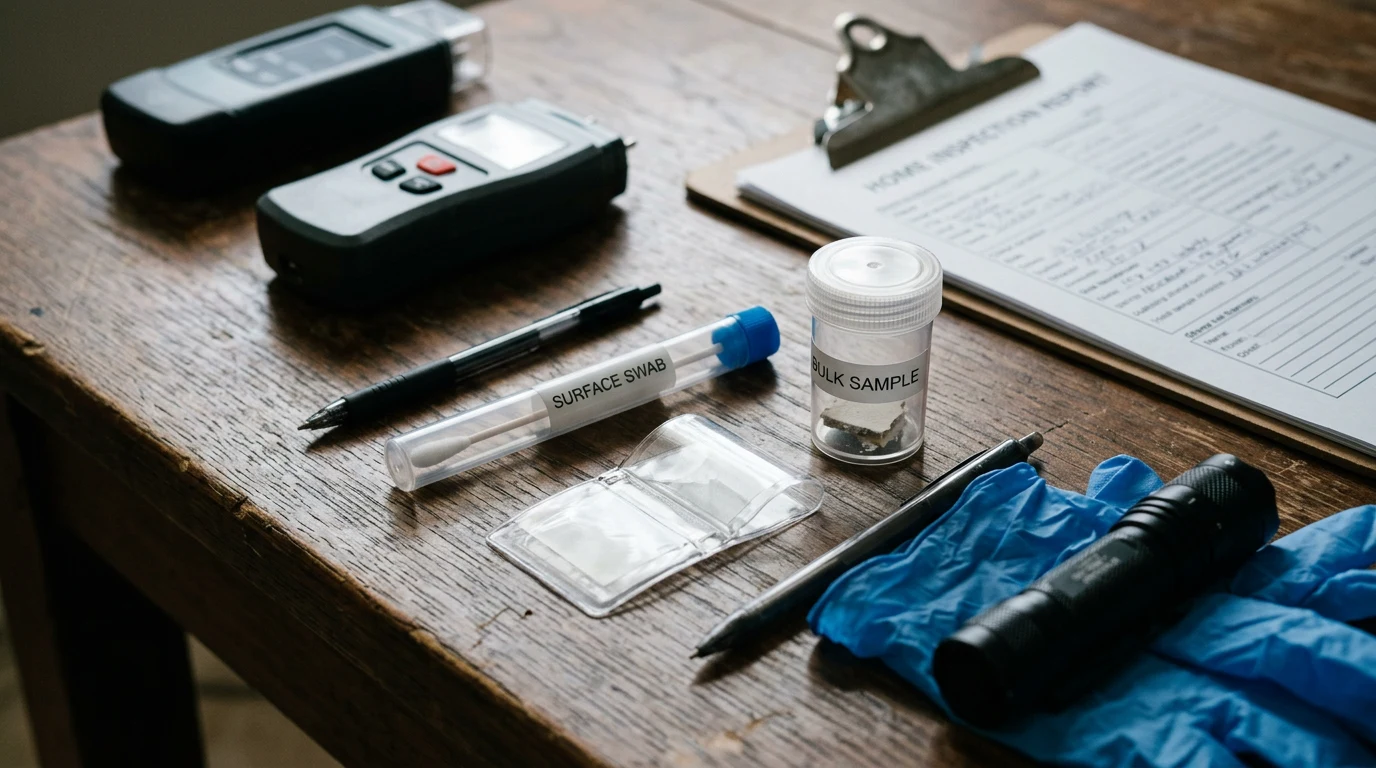
Surface Sampling (Tape Lift, Swab, and Bulk)
Surface sampling collects mold directly from a material. Tape lift samples press clear adhesive tape against a surface, capturing spores and fragments for microscopic analysis. Swab tests use a sterile cotton or foam swab to collect material from a specific area. Bulk samples involve cutting a small piece of the affected material (drywall, carpet, wood) and sending it to the lab.
Surface tests answer one question: what species of mold is growing on this specific spot? They confirm whether a suspicious discoloration is actually mold and identify the genus. However, they tell you nothing about airborne spore levels or contamination in other areas of your home.
Air Sampling (Spore Trap / Non-Viable)
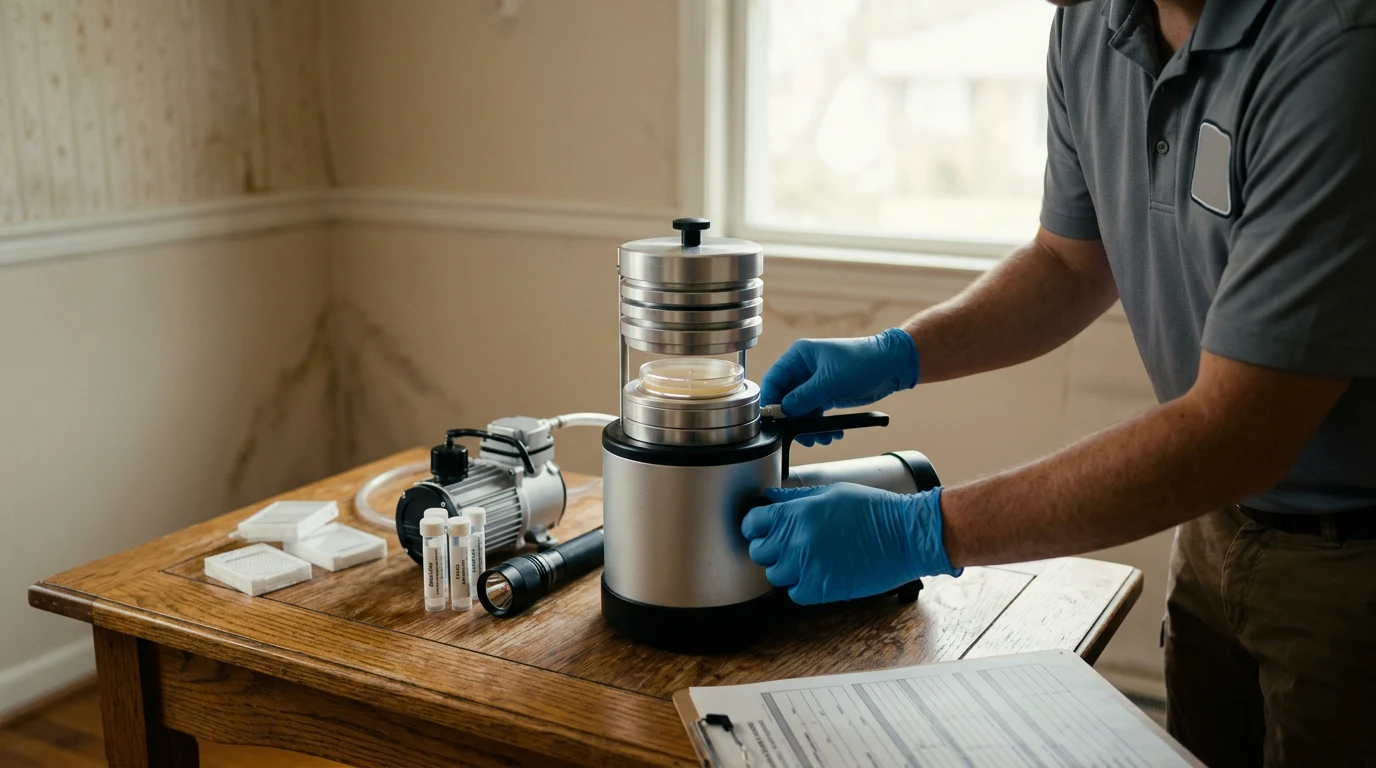
Spore trap air sampling is the most common method used by professional mold inspectors. A calibrated pump draws a known volume of air (typically 75 liters) through a cassette containing a sticky collection surface. The lab then counts and identifies spores under a microscope.
This is considered non-viable sampling because it captures both living and dead spores, fungal fragments, and hyphal elements. Dead spores can still trigger allergic reactions and contain mycotoxins, so this method provides a more complete picture of what you’re breathing.
Standard protocol requires at least two samples: one indoor sample and one outdoor (baseline) sample. The outdoor sample establishes the normal background spore levels for your geographic area on that day. Indoor counts significantly exceeding outdoor counts suggest an active indoor source.
Viable (Cultured) Air Sampling
Viable sampling collects airborne spores onto a growth medium (agar plate), then incubates them in a lab to grow colonies. This method identifies living organisms to the species level, which is more specific than the genus-level identification from spore traps.
The advantage is precision. The drawback is that not all mold species grow well on standard culture media, and results take 7 to 14 days compared to 2 to 5 days for spore traps. Viable sampling also misses dead spores entirely, potentially underreporting total contamination.
ERMI Testing (Environmental Relative Moldiness Index)
The ERMI test was developed by the EPA and uses DNA-based analysis (MSQPCR) to quantify 36 species of mold from a dust sample. It produces a single numerical score that compares your home’s mold profile against a national database of 1,096 homes.
ERMI scores range roughly from -10 to 20+. Scores below 0 indicate low mold burden. Scores between 0 and 5 are moderate. Scores above 5 are elevated, and scores above 10 suggest significant contamination.
The ERMI test kit is popular among patients working with integrative or environmental medicine doctors because it provides species-level quantification. However, the EPA itself cautions that ERMI was designed as a research tool, not a diagnostic one, and results can vary based on dust collection method and home age.
HERTSMI-2 Scoring
HERTSMI-2 (Health Effects Roster of Type-Specific (Formers of) Mycotoxins and Inflammagens, 2nd version) is a simplified scoring system derived from ERMI data. It focuses on five specific mold species most associated with health effects in water-damaged buildings:
- Aspergillus penicillioides
- Aspergillus versicolor
- Chaetomium globosum
- Stachybotrys chartarum
- Wallemia sebi
Each species receives a score of 0 to 10 based on concentration. A total HERTSMI-2 score below 11 is considered safe for most people. Scores between 11 and 15 are borderline. Scores above 15 indicate a building that may be problematic for mold-sensitive individuals.
Mycotoxin Testing
Mycotoxin tests detect the toxic chemical compounds that certain mold species produce. These tests can be performed on dust samples, air samples, or even urine (for human body burden testing). A mycotoxin test kit typically screens for trichothecenes, aflatoxins, ochratoxins, and gliotoxins.
Environmental mycotoxin testing is relatively new and somewhat controversial. Some labs and physicians rely on it heavily, while others argue the science behind environmental mycotoxin sampling is not yet standardized. If you’re pursuing this route, work with a qualified environmental medicine physician who can interpret results in clinical context.
Comparison Table: Types of Mold Tests
| Test Type | What It Measures | Best For | Turnaround | Typical Cost |
|---|---|---|---|---|
| Surface Swab/Tape Lift | Species on a specific spot | Identifying visible growth | 3-5 days | $30-$75/sample |
| Spore Trap (Non-Viable Air) | Airborne spore count by genus | Detecting hidden mold, air quality | 2-5 days | $30-$50/cassette + lab |
| Viable (Cultured) Air | Living spores to species level | Species-level ID from air | 7-14 days | $50-$100/sample + lab |
| ERMI (DNA/MSQPCR) | 36 species from dust, scored | Overall home mold burden assessment | 5-10 days | $250-$400 |
| HERTSMI-2 | 5 key toxic species from dust | Health-focused screening | 5-10 days | $150-$250 |
| Mycotoxin (Environmental) | Toxic compounds in dust/air | Toxicity assessment | 7-14 days | $300-$500 |
DIY Mold Testing Kit vs Professional Mold Inspection
This is the question that drives most people to this page. A home mold testing kit costs $10 to $50 at the hardware store. A professional mold inspection runs $300 to $800 or more. Is the professional inspection worth five to fifty times the price?

The honest answer: it depends on what you need the results for.
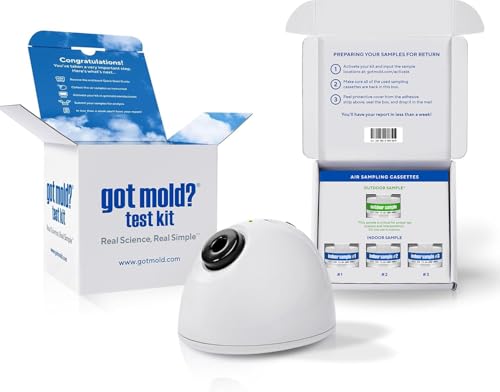
What DIY Mold Test Kits Actually Do
Most consumer mold test kits sold at hardware stores are settle plate tests. You open a petri dish, leave it exposed for a set time (usually 24 to 48 hours), seal it, and either read the results yourself or mail it to a lab. Some kits include swabs for surface sampling or cassettes for limited air sampling that require a lab fee of $30 to $75 per sample.
The settle plate approach has a fundamental problem: mold spores are everywhere, all the time. A settle plate left open in any room of any building will grow mold colonies. That positive result tells you nothing useful. Certified inspectors consider settle plate testing to be unreliable because there’s no control for air volume, no outdoor baseline comparison, and no way to quantify spore concentration.
The more useful DIY kits skip the settle plate and include either tape lift supplies for surface sampling or cassettes designed for pump-assisted air sampling. If you purchase a mold air quality test with calibrated cassettes and rent or buy a sampling pump, your results become significantly more meaningful because the lab receives a known volume of air to analyze.
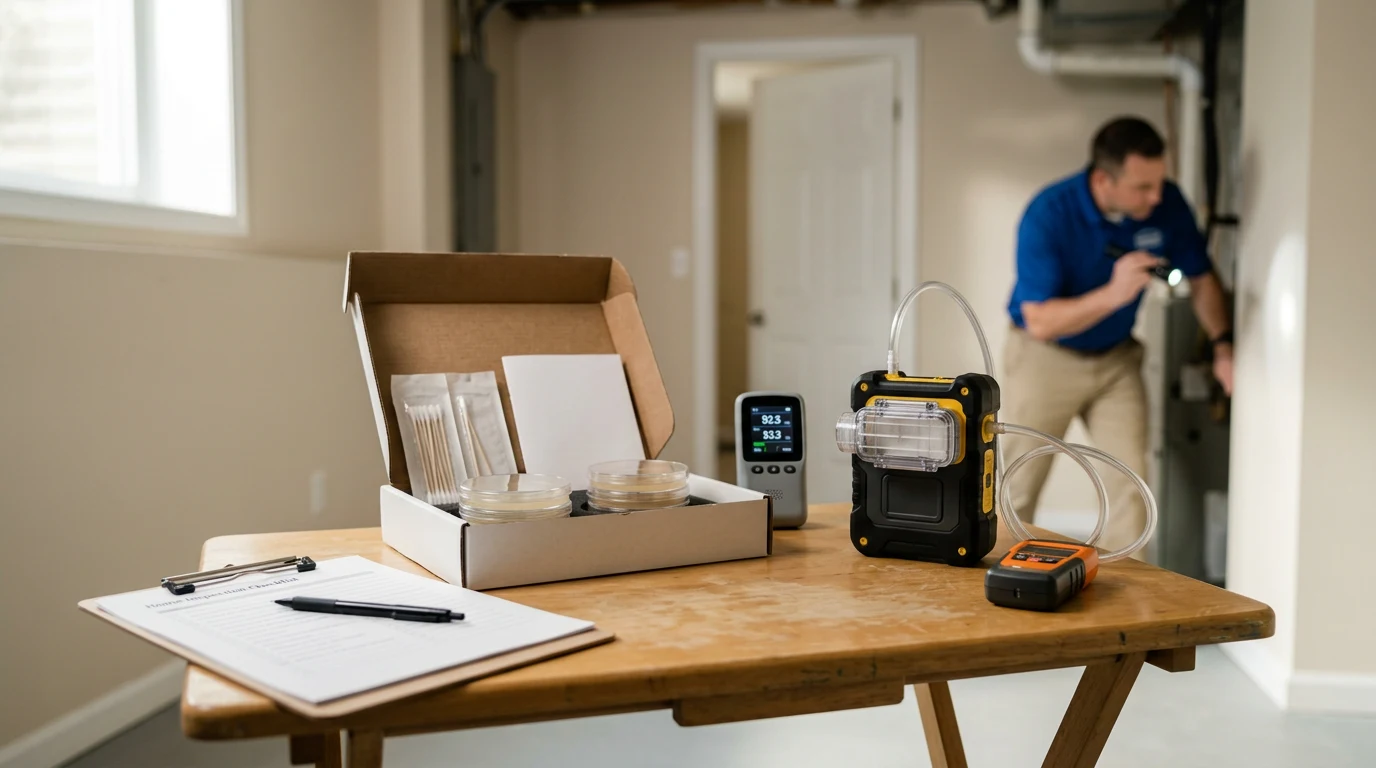
What Professional Mold Inspection Includes
A qualified mold inspector brings calibrated equipment, visual inspection expertise, and a moisture meter to every job. The inspection typically involves:
- Visual assessment of the entire property for signs of water damage and mold growth
- Moisture mapping with a professional moisture meter to identify hidden water intrusion
- Thermal imaging (in some inspections) to detect moisture behind walls
- Strategic air sampling (indoor + outdoor baseline)
- Surface sampling of suspicious areas
- Lab analysis with chain-of-custody documentation
- Written report with findings, spore counts, species identification, and recommendations
The critical difference is context. A professional doesn’t just collect samples. They determine where to sample based on moisture readings, visual cues, and building science knowledge. Two air samples in the wrong locations tell you less than one sample in the right spot.
Head-to-Head Comparison
| Factor | DIY Mold Test Kit | Professional Mold Inspection |
|---|---|---|
| Cost | $10-$50 kit + $30-$75/sample lab fee | $300-$800 (includes sampling + report) |
| Accuracy | Low (settle plate) to moderate (cassette) | High (calibrated equipment, strategic placement) |
| Turnaround | 3-10 days (after mailing) | 2-5 days (most inspectors use priority labs) |
| Species Identification | Yes, if sent to accredited lab | Yes, always included |
| Air Volume Control | None (settle plate) or limited | Calibrated pump with known volume |
| Outdoor Baseline | Rarely included | Always included (standard protocol) |
| Moisture Assessment | Not included | Included (identifies water source) |
| Written Report | Basic lab report only | Detailed findings + remediation recommendations |
| Legal/Insurance Value | Minimal | Strong (chain of custody, certified inspector) |
| Best For | Confirming visible mold species, preliminary screening | Hidden mold, health concerns, real estate, legal |
How to Test for Mold at Home (Step-by-Step)
If you’ve decided to use a DIY mold testing kit, following a consistent method makes your results far more useful. Certified inspectors recommend these protocols for each sampling type.
Surface Sampling Protocol
- Wear nitrile gloves and an N95 respirator to avoid disturbing spores into your breathing zone.
- For tape lift sampling, press the clear adhesive tape firmly against the suspected growth. Do not rub or scrub. Peel it away and adhere it to the slide provided in the kit.
- For swab sampling, moisten the swab with sterile water (included in most kits), roll it across the area in a 2″ x 2″ square, and place it in the sterile transport tube.
- Label each sample with the exact location (room, wall, height from floor) and date.
- Package and mail to the lab within 24 hours of collection.
Air Sampling Protocol (DIY Cassette Method)
- Close all windows and exterior doors for at least 12 hours before sampling. This creates “closed building conditions” that prevent outdoor air from diluting indoor spore counts.
- Turn off HVAC systems 1 hour before sampling (some protocols call for running HVAC normally; follow the kit manufacturer’s instructions).
- Set up the sampling pump and cassette at breathing height (approximately 3 to 5 feet) in the center of the room.
- Run the pump for the duration specified by the cassette manufacturer (commonly 5 to 10 minutes at a flow rate of 15 liters per minute).
- Collect an outdoor sample using the same method, positioned away from vegetation and exterior walls.
- Record sampling times, flow rate, and location for each cassette.
- Ship cassettes to the lab within 48 hours.
ERMI Dust Sampling Protocol
- Do not vacuum the sampling area for at least 5 days before collection. ERMI measures accumulated dust, and recent vacuuming reduces the sample.
- Using the dust collection device provided in your ERMI test kit (usually a Swiffer-type cloth or vacuum cassette), collect dust from 6 square feet of carpet or 10 square feet of hard flooring.
- Focus on areas where dust accumulates: along baseboards, under furniture edges, near HVAC returns.
- Place the collection cloth in the sealed bag provided and ship to the lab.
How to Interpret Your Mold Test Results
Getting lab results back can be confusing. A typical spore trap report lists genus names (Aspergillus/Penicillium, Cladosporium, Stachybotrys) alongside raw spore counts per cubic meter of air. Here’s how to make sense of those numbers.
Understanding Spore Trap Results
There are no federal standards for acceptable indoor mold levels. However, certified mold inspectors use these general guidelines when evaluating spore trap results:
The outdoor comparison is everything. Indoor spore counts should be equal to or lower than outdoor counts. If your outdoor baseline shows 2,000 spores/m3 of Cladosporium and your indoor count is 1,500 spores/m3 of Cladosporium, that’s likely normal infiltration. If your indoor count is 8,000 spores/m3 while outdoor is 2,000, that suggests an active indoor source.
Species distribution matters. Indoor and outdoor samples should show similar species in similar proportions. If your outdoor sample is predominantly Cladosporium (very common) but your indoor sample shows elevated Aspergillus/Penicillium or Chaetomium, there’s likely indoor amplification even if total counts are similar.
Certain species are red flags regardless of count. Stachybotrys (black mold), Chaetomium, and Memnoniella are water-damage indicator species. Any presence of these indoors, even at low counts, warrants investigation because they indicate chronic moisture and are associated with serious health effects from mold exposure.
General Spore Count Reference Ranges
| Total Indoor Spore Count (spores/m3) | General Interpretation |
|---|---|
| Below outdoor level | Normal. No indoor amplification detected. |
| Equal to outdoor level | Likely normal. Review species distribution. |
| 1.5x to 3x outdoor level | Elevated. Possible indoor source. Further investigation recommended. |
| 3x+ outdoor level | Significantly elevated. Active indoor mold growth likely. |
| Any Stachybotrys or Chaetomium | Investigate immediately regardless of count. |
Important caveat: These are general guidelines, not diagnostic thresholds. Lab results should be interpreted in context with visual findings, moisture data, and occupant symptoms. If your results are confusing, consulting a certified mold inspector to review them is well worth the $50 to $150 consultation fee most offer.
Understanding ERMI and HERTSMI-2 Scores
ERMI results come as a single index score. The national database breaks down as follows:
- ERMI below -1: 25th percentile (low mold burden, better than 75% of homes tested)
- ERMI between -1 and 5: Moderate range (typical for many homes)
- ERMI between 5 and 10: Elevated (above 75th percentile)
- ERMI above 10: High (investigate for hidden water damage)
For HERTSMI-2, the scoring is based on Dr. Ritchie Shoemaker’s research with chronic inflammatory response syndrome (CIRS) patients. Scores below 11 are generally considered safe. Scores between 11 and 15 are borderline. Scores above 15 suggest the building may not be safe for mold-sensitive individuals.
How Much Does Mold Testing Cost?
Mold testing costs vary significantly based on the method, number of samples, and whether you hire a professional or do it yourself. Here’s a realistic cost breakdown for 2026.
DIY Testing Costs
| Item | Cost Range |
|---|---|
| Basic settle plate kit (hardware store) | $10-$15 |
| Surface swab kit with lab analysis | $30-$75 |
| Air cassette kit (2 cassettes + lab) | $80-$150 |
| ERMI test kit with lab analysis | $250-$400 |
| HERTSMI-2 test kit with lab analysis | $150-$250 |
| Mycotoxin dust test with lab analysis | $300-$500 |
| Sampling pump rental (if needed) | $30-$50/day |
Professional Inspection Costs
| Service | Cost Range |
|---|---|
| Visual inspection only (no sampling) | $150-$300 |
| Inspection + 2 to 4 air samples + report | $300-$600 |
| Comprehensive inspection (6+ samples, moisture mapping) | $500-$800 |
| Large property or commercial inspection | $800-$2,000+ |
| Post-remediation clearance testing | $200-$500 |
| Additional samples (beyond base package) | $50-$100 each |
One important note: the mold inspector should be independent from the remediation company. If the same company inspects your home and then offers to fix the problem, there’s a financial incentive to find more mold than exists. Reputable inspectors provide the assessment and then refer you to separate remediation contractors. Many states have begun codifying this separation into law.
Choosing the Right Mold Testing Kit for Your Situation
The best mold testing kit depends on your specific circumstances. Here’s a decision framework based on what certified inspectors recommend for common scenarios.
Scenario 1: Visible Mold, Want to Know the Species
Use a surface swab or tape lift mold testing kit. This is the most cost-effective approach when mold is already visible. Send the sample to an accredited lab (look for AIHA or EMLAP accreditation). The lab report will identify the genus and often the species, which helps determine health risk and remediation urgency.
Scenario 2: Musty Smell, No Visible Mold
Use a spore trap air sampling kit with at least two cassettes (one indoor, one outdoor). Consider three to four cassettes if the smell is in a specific area. This approach detects hidden mold by measuring airborne spore concentrations. A mold air quality test with calibrated cassettes produces results that are meaningful to interpret.
Scenario 3: Health Symptoms, Need Comprehensive Assessment
Use an ERMI or HERTSMI-2 dust test. These DNA-based methods provide the most thorough species-level analysis and are commonly requested by environmental medicine physicians. The ERMI test kit provides a standardized score that physicians can use alongside clinical findings.
Scenario 4: Post-Remediation Verification
Hire a professional for post-remediation clearance testing. This is not the time for DIY. Clearance testing should be performed by an independent inspector (not the remediation company) using spore trap air sampling with outdoor baseline comparison. Documentation from a certified inspector protects you legally and ensures the work was effective. If you’ve invested thousands in professional mold removal, spending $200 to $500 for independent verification is essential.
Scenario 5: Real Estate Transaction
Hire a professional mold inspector. DIY results carry no weight in real estate negotiations. You need a licensed inspector, a chain-of-custody lab report, and a written assessment from a qualified professional. This documentation can justify price negotiations or repair demands.
Common Mistakes to Avoid When Testing for Mold
Lab technicians and certified inspectors report seeing the same errors repeatedly from homeowners who test themselves. Avoiding these mistakes saves money and prevents misleading results.
1. Using Settle Plate Tests and Trusting the Results
Settle plate tests (open petri dish, wait, seal) will always grow mold because spores are universally present in air. A positive result is meaningless without quantification. If your mold test kit relies solely on a settle plate, the results cannot be interpreted as evidence of a mold problem.
2. Sampling Without an Outdoor Baseline
A single indoor air sample with no outdoor comparison provides no context. Spore counts of 3,000/m3 could be completely normal on a high-pollen fall day or extremely elevated on a dry winter day. Always collect at least one outdoor sample at the same time as your indoor samples.
3. Opening Windows Before Sampling
Open windows flood the indoor environment with outdoor spores, masking any indoor mold source. Maintain closed building conditions (windows and exterior doors shut) for 12 to 24 hours before air sampling.
4. Sampling Only One Room
Mold growth in a basement or crawl space can elevate spore counts throughout the house via HVAC distribution. If you only sample the living room and miss the basement, your results may show normal levels while the true contamination source goes undetected.
5. Ignoring Moisture in Favor of Mold Testing
Mold is a symptom of a moisture problem. Testing confirms the mold is there, but it doesn’t fix the underlying water intrusion. Before spending money on testing, use a moisture meter to identify active water sources. Fixing the moisture source is always more important than identifying the exact mold species growing because of it.
When to Skip DIY and Call a Professional
DIY mold testing has its place, but there are situations where going professional from the start saves time, money, and frustration:
- Large affected areas (over 10 square feet): The EPA recommends professional assessment for mold covering more than 10 square feet.
- HVAC contamination: If you suspect mold in your ductwork, professional testing with specialized equipment is necessary.
- Sewage or contaminated water damage: Category 3 water damage requires professional assessment and remediation.
- Health symptoms in occupants: If anyone in the home is experiencing respiratory symptoms, immune suppression, or chronic illness, professional testing ensures accurate results for medical decision-making.
- Legal or insurance purposes: DIY results rarely hold up in disputes. Professional reports with chain-of-custody documentation are the standard.
- You need to find the source: A professional inspector’s value isn’t just in sampling. It’s in using moisture meters, thermal imaging, and building science knowledge to locate hidden moisture and mold sources. If air quality is your concern, an air purifier rated for mold spores can help in the interim while you address the source.
Mold Testing Kit Accuracy: What the Research Shows
Are home mold test kits accurate? The answer depends heavily on which kit and which method. Research and lab technician feedback reveal a clear accuracy hierarchy.
Settle plate kits (lowest accuracy): These produce false positives nearly 100% of the time because they can’t distinguish between normal background spore levels and elevated contamination. Consumer Reports, the American Industrial Hygiene Association, and multiple state health departments have advised against relying on settle plate results.
Surface sampling kits (moderate accuracy): When collected properly and analyzed by an accredited lab, surface samples reliably identify mold species. The accuracy depends more on collection technique than on the kit itself. Verified buyer reviews for leading surface test kits consistently report that lab results match professional assessments when the same area is tested.
Air cassette kits (moderate to high accuracy): With a calibrated pump and proper protocol, DIY air cassettes can produce results comparable to professional sampling. The main accuracy gap comes from sample location strategy, not from the cassettes themselves. Professional-grade cassettes (Zefon Air-O-Cell, Allergenco-D) used by inspectors are often available for direct consumer purchase.
ERMI/HERTSMI-2 kits (high accuracy for what they measure): DNA-based analysis is highly specific. The accuracy concern with ERMI isn’t the lab analysis but the dust collection method. Inconsistent collection can produce variable results from the same home. Following the EPA’s standardized collection protocol minimizes this variability.
For further reading on mold testing methodology, the EPA’s guide on mold testing and sampling provides foundational guidance on when and how to test.
Frequently Asked Questions About Mold Testing
Are home mold test kits accurate?
It depends on the type. Settle plate kits (open petri dish) are unreliable because they produce false positives in virtually any environment. Surface swab kits sent to accredited labs are reasonably accurate for identifying mold species on a specific spot. Air cassette kits used with a calibrated pump can produce results comparable to professional testing when collected properly with an outdoor baseline sample. ERMI and HERTSMI-2 kits using DNA analysis are highly accurate at the lab level, though results can vary based on dust collection technique.
How much does mold testing cost?
DIY mold test kits range from $10 to $50, with lab analysis fees of $30 to $75 per sample on top. ERMI kits with lab analysis cost $250 to $400. Professional mold inspections including sampling and a written report typically cost $300 to $800 for a standard residential property. Post-remediation clearance testing runs $200 to $500.
What is the best mold test kit?
For surface testing of visible mold, any kit that includes a tape lift or swab and sends to an AIHA-accredited lab will work. For air quality concerns, kits that include spore trap cassettes (not settle plates) paired with a sampling pump provide the most useful data. For comprehensive home assessment, an ERMI or HERTSMI-2 dust test provides the deepest analysis. The “best” kit depends on whether you’re trying to identify a specific growth, assess air quality, or evaluate overall home mold burden.
Can I test for mold myself?
Yes, with limitations. DIY surface sampling (swabs and tape lifts) is straightforward and produces reliable results when sent to an accredited lab. DIY air sampling requires more equipment (a calibrated pump and cassettes) and careful protocol, but can produce useful data. The main limitation of DIY testing is the absence of professional interpretation. You’ll get raw spore counts and species names, but not the building science expertise to determine what’s causing the problem or how to fix it.
How long does mold testing take?
Sample collection takes 15 to 60 minutes depending on the number of samples and method. Lab turnaround depends on the test type. Spore trap analysis typically takes 2 to 5 business days. Culture-based (viable) analysis takes 7 to 14 days because colonies need time to grow. ERMI and mycotoxin DNA analysis takes 5 to 10 business days. Most labs offer rush processing for an additional fee.
Do I need mold testing after water damage?
If water damage was addressed within 24 to 48 hours and materials were thoroughly dried, testing may not be necessary. Mold typically requires 48 to 72 hours of sustained moisture to begin growing. If water sat for longer than 48 hours, if porous materials (drywall, carpet, insulation) remained wet, or if you notice a musty smell days or weeks after the event, testing is recommended. Air sampling 5 to 7 days after drying is complete gives the most accurate picture of whether mold growth was established.
What should I do if my test results show elevated mold levels?
First, identify and fix the moisture source. Mold cannot grow without moisture, so any remediation effort will fail if the water intrusion continues. For small areas (under 10 square feet), you can follow EPA guidelines for DIY mold removal. For larger areas, contamination in HVAC systems, or toxic species like Stachybotrys, hire a licensed mold remediation contractor. After remediation, get independent post-clearance testing from a different company than the one that did the remediation work.
Bottom Line: Which Mold Test Should You Buy?
If you can see mold and want to confirm the species, a surface sampling mold test kit sent to an accredited lab is all you need. Budget $30 to $75.
If you suspect hidden mold or want to assess indoor air quality, a mold air quality test with spore trap cassettes and a sampling pump provides meaningful data. Budget $80 to $150 for a DIY setup.
If you’re working with a physician on mold-related health issues, an ERMI test kit or mycotoxin test kit gives the comprehensive data doctors use for treatment decisions. Budget $250 to $500.
If the situation involves health symptoms, legal documentation, real estate, or insurance claims, skip DIY entirely and hire a certified mold inspector. The $300 to $800 investment provides expert sampling strategy, proper documentation, and actionable recommendations that no kit can replicate.
Whatever you choose, avoid settle plate tests, always include an outdoor baseline for air sampling, and remember that finding the moisture source matters more than identifying the exact species growing on your walls.
Frequently Asked Questions
What’s the difference between professional mold testing and using a home kit?
Professional mold testing often involves certified inspectors who can identify mold sources, assess damage, and provide remediation plans, offering a comprehensive service beyond just detection. Home kits, while convenient for initial screening, primarily confirm the presence of mold spores and don’t typically offer diagnostic insights or remediation guidance.
How accurate are DIY mold testing kits?
DIY mold testing kits can accurately detect the presence of mold spores in the air or on surfaces, providing a good indication if a problem exists. However, they generally don’t identify the specific species of mold or quantify the concentration, which professional labs can provide for more detailed analysis.

When should I consider professional mold testing instead of a home kit?
You should consider professional mold testing if you suspect hidden mold, experience persistent health issues linked to mold exposure, or after water damage where mold growth is likely. Professionals can locate unseen mold, identify its source, and provide a detailed remediation plan that home kits cannot.

Can a home mold test tell me if the mold is toxic?
Most standard home mold test kits will indicate the presence of mold but do not differentiate between allergenic, pathogenic, or toxigenic mold species. To determine if the mold is a ‘toxic’ variety, you would typically need to send samples to a professional lab for specific identification and analysis.
How long does it take to get results from a home mold test kit?
The time to get results from a home mold test kit can vary, with some air sample kits providing preliminary results within 48-72 hours for visible growth on a petri dish. For more detailed lab analysis, which many kits offer as an upgrade, you can expect results within 5-10 business days after mailing in your samples.

What should I do if my home mold test kit indicates mold is present?
If your home mold test kit indicates mold is present, the next step depends on the extent and location of the growth. For small, visible areas, you might be able to clean it yourself, but for larger infestations, hidden mold, or if you’re experiencing health symptoms, it’s advisable to consult with a professional mold remediator.

These statements have not been evaluated by the Food and Drug Administration. This information is not intended to diagnose, treat, cure, or prevent any disease. Content is for informational purposes only and is not medical advice; consult a qualified healthcare provider before starting any supplement. As an Amazon Associate we earn from qualifying purchases.